
Despite the simplicity of this, I am documenting it for the sake of documentation.
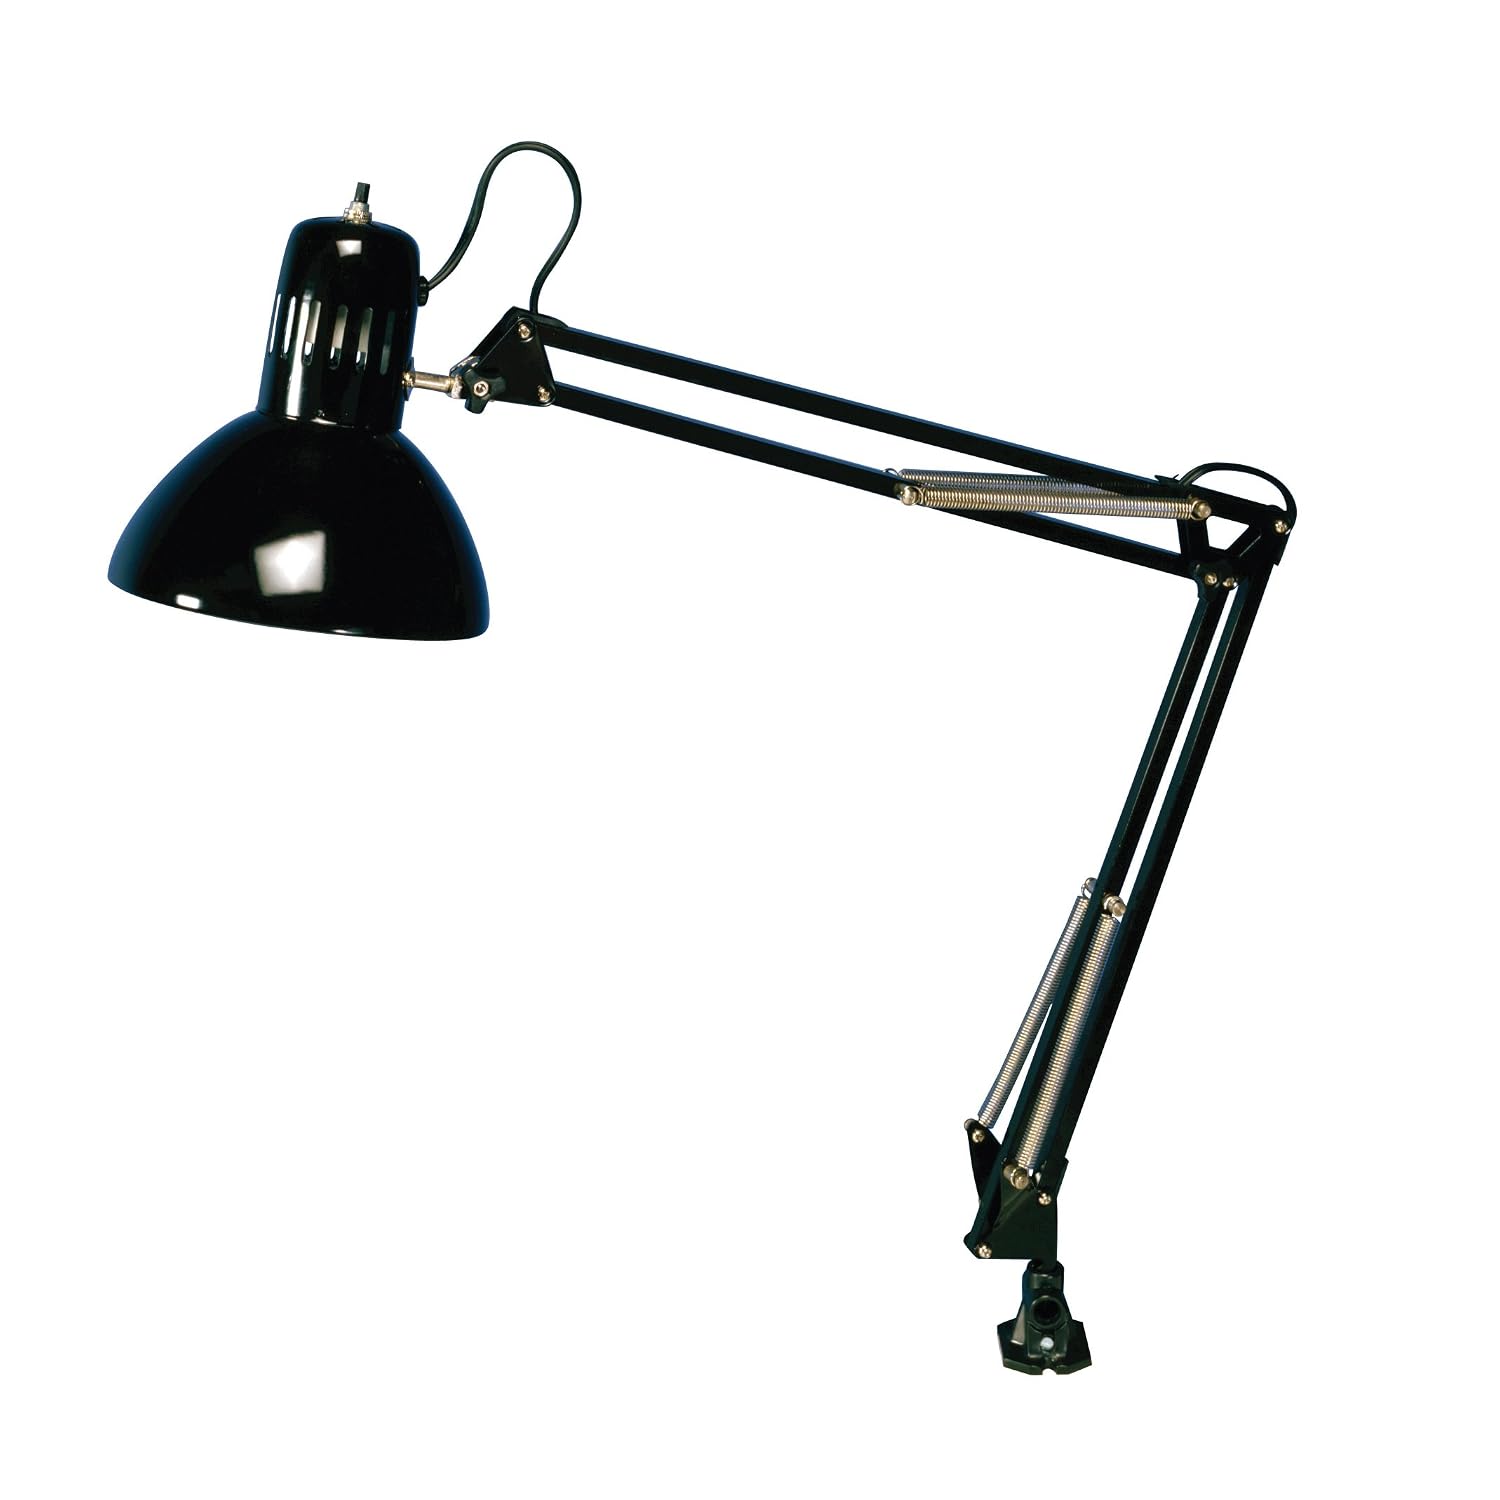
On my desk I have a very very common Ikea lamp. The bendy one that looks like the pixar lamp. The lamp is mounted to the side of my desk, as I expect most people do, since my desk is quite deep and I have computer monitors in the way. The problem with this is the lamp gets a lot of strain in the perpendicular axis to which it is clamped. As a result, one of the flanges on the sides gets over stressed, cracks and eventually breaks off completely, catching me by surprise as I scramble to pick up a tumbling lamp while it’s still on.
With one lamp I’ve gone through two standard Ikea mounts, so when I finally got my 3D printer, this is one of the parts I replaced with my own.
To start off, I wanted a near exact replica so I carefully measured all the dimensions of the mount with my caliper and recreated it in Solidworks. From there I modified the base of it so the flanges were thicker. At this point I realized there is a lot of material going into this print and even though the flanges are thicker, it doesn’t change the way the forces act on them. So I decided to modify the clamping points. The flange was already thicker, so why not add more mounting holes? Since I have a spare clamp to go in, I designed this to be secured by the flanges rather than the middle hole. This way I get the largest counter moment via the opposite flange clamp wrt to the flange that gets bent.


With the model completed, it goes through Cura, my (open-source) slicing software that turns the 3D model into CNC (computer numerical control) code a.k.a. gCode. Through the software I can change the layer height, print speeds, infill density and a few other settings. At the time that I printed this I was still learning how to achieve smoother overhangs which you’ll see later I was still getting it pretty rough.

The final result was a very sturdy and reliable replacement part. I’m quite happy with it, and it’s great knowing I can easily replace or redesign it again if it breaks.

Here you can see the infill honeycomb on the inside of the part. It’s set to 20% fill so most of it will be hollow. The honeycomb keep the material usage and weight wayyy down but it will maintain it’s strength.

Nearly done…
and Viola!

Here is a comparison to the old mount. If you look carefully in the bottom right you can see where the old one has cracked at the corner of the flange.
 Here it is in action, with the double clamp setup. It’s much much stronger now.
Project Complete!